GOLB!
Contributing something to the hackerspace
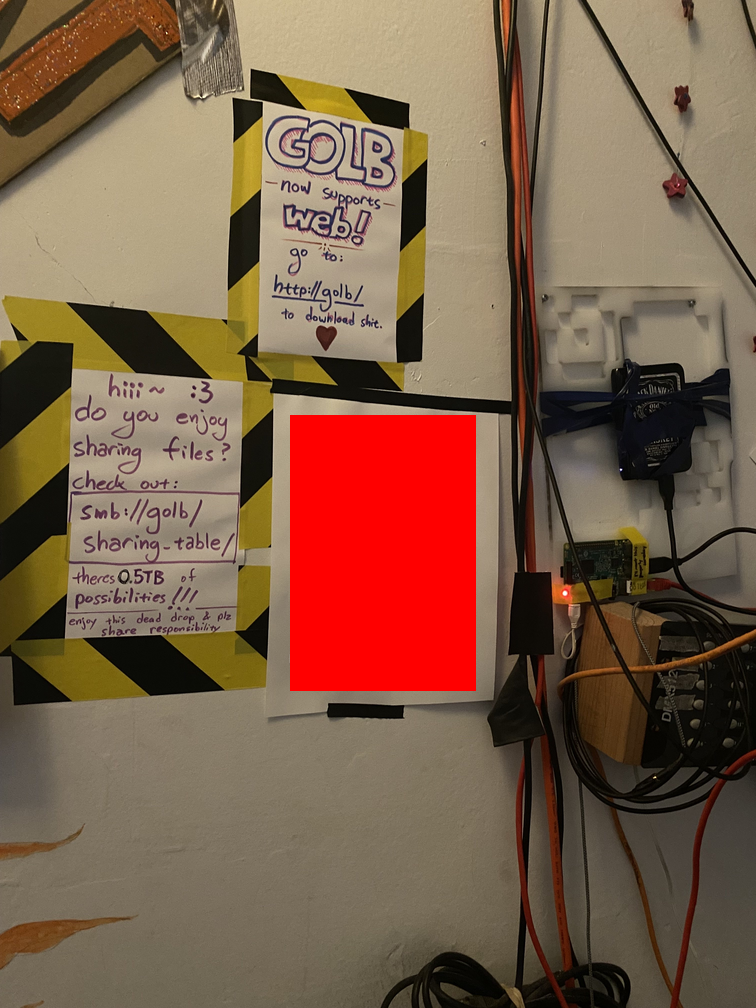
At our local third place, there was a hard drive hung up on the wall, with posters pointing to it addressing it as "GOLB", a dead drop for files that could be accessed over the network through smb://golb/sharing_table or http://golb/. But, the hard drive wasn't connected to anything, and there was no device named golb on the network! What gives!
Well, turns out a year ago, there used to be a Raspberry Pi connected to the hard drive; but then, the person who set it up decided to take it and use it for other projects. And so, the hard drive was left there stranded for a year.
Luckily for GOLB, a friend came by and gave me a Raspberry Pi 3B+ and told me to use it to resurrect the drop! This is the story of how I did that, and then over-engineered it for no clear reason.

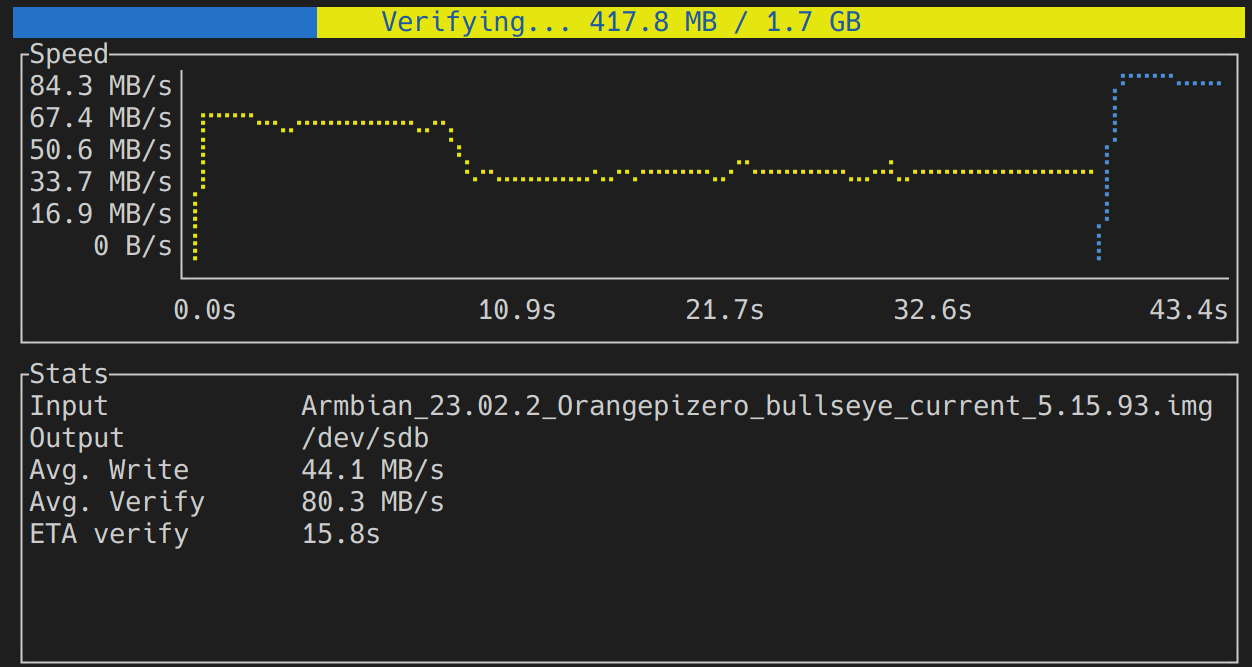
When I first brought the Pi to the space, I needed an SD card to boot it with. I couldn't find one, so I just stole one from another Pi in the space; I booted it up, saw that there wasn't really anything significant on it, and so went and re-imaged it using my friend's disk-imaging tool caligula. I had an issue getting it to install, however; on the project's GitHub page, I noticed someone else had had this issue as well. Despite not knowing anything about Rust yet, I managed to dig through enough docs to find a workaround, and I was able to use the tool with no problems after that; all I had to do was prepend RUSTFLAGS='--cfg tracing_unstable' to the install command.

From there, I had a fresh install of Raspberry Pi OS! Wait, not Raspbian? It'd been a while since I'd set up a new Pi, and it seems like some stuff has changed. For example, I couldn't add WiFi credentials with raspi-config, despite the option being there; I had to use nmtui. Weird.
Anyway, once that was done I was finally able to SSH into the device and use it that way, rather than using it through the projector we usually use to watch movies. I was worried I'd have to set something up for local hostname resolution, but I was pleasantly surprised to find that I didn't need to do anything, and once I'd changed the hostname to golb I could SSH directly to pi@golb.
nim@DESKTOP-49NS1JQ:~$ ping golb
PING golb.queer (10.0.1.118) 56(84) bytes of data.
64 bytes from golb.queer (10.0.1.118): icmp_seq=1 ttl=64 time=6.17 ms
64 bytes from golb.queer (10.0.1.118): icmp_seq=2 ttl=64 time=9.00 ms
64 bytes from golb.queer (10.0.1.118): icmp_seq=3 ttl=64 time=10.00 ms
64 bytes from golb.queer (10.0.1.118): icmp_seq=4 ttl=64 time=6.93 ms
64 bytes from golb.queer (10.0.1.118): icmp_seq=5 ttl=64 time=5.85 ms
^C
--- golb.queer ping statistics ---
5 packets transmitted, 5 received, 0% packet loss, time 4005ms
rtt min/avg/max/mdev = 5.847/7.587/9.995/1.627 ms
Next, I tried to mount the GOLB drive. I plugged it in, saw it on /dev/sda, and found it was an encrypted LUKS drive. I asked the previous owner for the password, but they couldn't remember it, so I just went ahead and wiped it and formatted it to ext4. After that, I was able to mount it just fine.
Of course, I wanted it to mount automatically on boot. I've never done this kind of system-setup-y stuff before, so I had to Google it to learn about /etc/fstab. It was super easy, all I had to do was add the line
UUID=[drive uuid] /media/golb ext4 defaults 0 2and it magically worked!
After that, I changed the MOTD to be a bit silly:
nim@DESKTOP-49NS1JQ:~$ ssh pi@golb
pi@golb's password:
Linux golb 6.6.31+rpt-rpi-v8 #1 SMP PREEMPT Debian 1:6.6.31-1+rpt1 (2024-05-29) aarch64

       _____  _   _ _    _  _
      |  __ \| \ | | |  | || |
      | |  | |  \| | |__| || |
      | |  | | . ` |  __  || |
      | |__| | |\  | |  | ||_|
      |_____/|_| \_|_|  |_|(_)

 Unless you know what you're doing,
       in which case go ahead

Last login: Sun Aug 18 11:58:58 2024 from 10.0.1.111
pi@golb:~ $
Now, I was finally ready to set up the actual file share.
The posters on the wall indicated that golb should be accessible via both SMB and HTTP. The former could be used for both reading and writing files, whereas I assumed the latter was just a simple HTTP webserver with a directory listing. I decided to set up SMB first, so I installed samba, and tried to configure it:
# golb!
[sharing_table]
   comment = GOLB
   path = /media/golb
   browsable = yes
   guest ok = yes
   read only = no
   create mask = 755
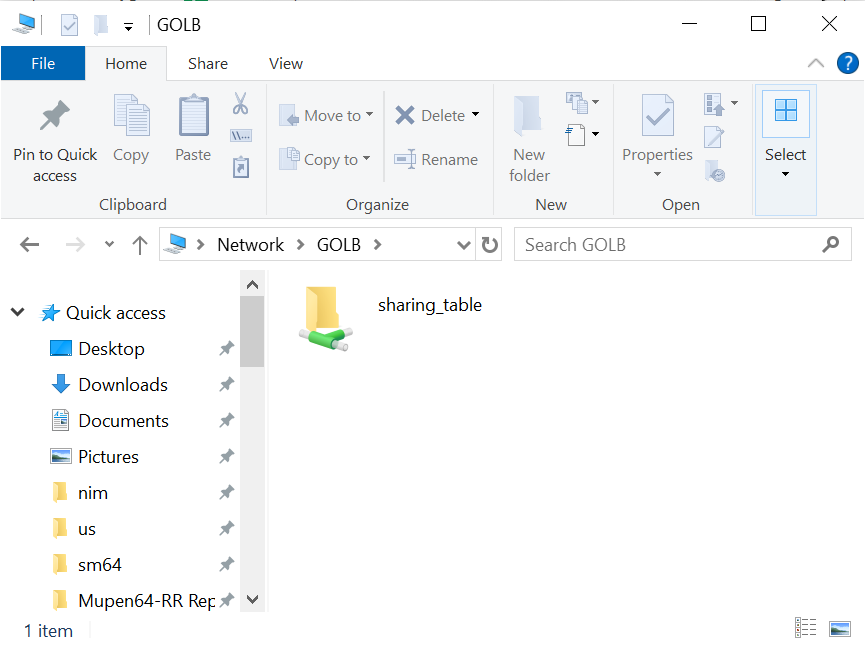
Now, I work on a Windows machine, and Windows has native SMB support, so I tried to access the SMB drive from Windows. However, it wouldn't show up, so I did a bit more digging; turns out, Windows uses its own protocol for SMB network discovery for security reasons or something. Luckily, I didn't have to do much to make it work; I just installed the wsdd package and I could suddenly see the drive from my machine!

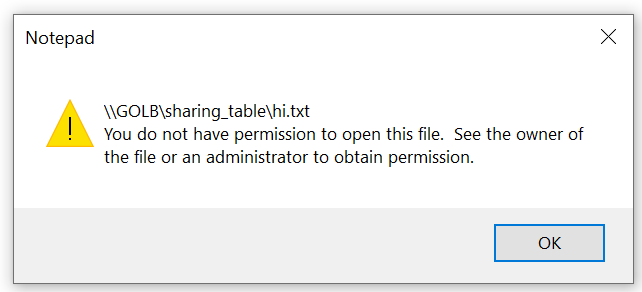
Alright! I was able to see my drive, as well as the hi.txt file that I had placed in /media/golb earlier. What happens if I try to edit the file?

The first thing I tried was adding writeable = yes to the config. I quickly realized that read only = no and writeable = yes are just synonyms... Past that, I noticed that I wasn't specifying an account for guest users to access under. I specified the guest account to be pi in the Samba config, and then ran smbpasswd -n pi to make Samba not require a password for the pi user, and then it worked!
The last thing I had to do was add an HTTP server. For all my websites, I use Apache, so I thought it'd be fun to try using nginx. I installed it, and immediately had a landing page; looking at the configuration, it looked surprisingly familiar and similar to Apache, which was nice. I wrote a quick site config to list a directory, and pointed the root to /media/golb:
server {
    listen 80;
    listen [::]:80;

    server_name golb;

    root /media/golb;

    location / {
        try_files $uri $uri/ =404;
        autoindex on;
    }
}
This worked beautifully!

I did notice one issue though, which was that if anyone ever made a file index.html and uploaded that, the webserver would serve that instead of showing the directory listing. To fix that, I added the following very silly line to the site config:
index .please_dont_create_this_file_thx;And with that silly hack, GOLB was fully set up!
At this point, I get nerd-sniped. What if I made this setup more reproducible, so that if the Pi is taken again, the next person to set this up doesn't have to deal with everything I did? Hey, isn't there a thing called "Ansible" that people use for their infra?
So this is the point at which I decided to learn how to configure things with Ansible, for this silly little Pi project, for seemingly no reason. But first, if I wanted to use Ansible, I'd need a device to test my playbooks on, right? And I didn't have another Pi lying around, so...
...
Is it possible that I could set up a Raspberry Pi VM?
I took out my second laptop (which someone recently gave me, and I just wiped and put Ubuntu on for now) and started trying to get a virtual Raspberry Pi going. My first thought was to use VirtualBox, which I'd already had installed on my main computer, but it can't emulate ARM, so my next choice was QEMU.
First, I checked out this article. I followed the steps (though I did $((8192*512)) rather than actually going and calculating it), and when I finally got to running it, it would just hang after some warnings or errors about "usbnet". I found this forum post where people had the same issue, and the linked blog post in there had a kernel image that made it actually start booting if I used it! (As long as I enabled graphics...)
However, it didn't fully boot, and looking at it closer I realized there was some mismatch between the Raspberry Pi OS and the kernel; after all, I'd just swapped it out. I decided to go look for the version of Raspberry Pi OS that matched the kernel I was now using. Bisecting through the changelogs took me all the way back to Raspbian Buster; using that image made the VM finally work! And the SSH tunnel worked too!
After a couple more tweaks, turning graphics off again and fixing some warnings, I had the following shell script to run the VM:
#!/bin/bash

qemu-system-aarch64 \
    -machine raspi3b \
    -cpu cortex-a72 \
    -nographic \
    -dtb bcm2710-rpi-3-b-plus.dtb \
    -m 1G \
    -smp 4 \
    -kernel kernel8.img \
    -append "rw earlyprintk loglevel=8 console=ttyAMA0,115200 dwc_otg.lpm_enable=0 root=/dev/mmcblk0p2 rootdelay=1" \
    -device sd-card,drive=sd \
    -drive id=sd,if=none,file=pi.img,format=raw \
    -device usb-net,netdev=0 \
    -netdev user,id=net0,hostfwd=tcp::2222-:22
Now that I had a VM set up, I could try to start using Ansible. First, I needed to add my SSH key to the VM; once I did that, I copied the VM's disk image to a "clean" file, and made my shell script copy the disk image from the clean one on each run so that the VM would always start from a fresh state. Once I had that, I opened up the Ansible docs, and copied over the Hello World playbook:
### hosts.yml

golb:
  hosts:
    testvm:
      ansible_host: 127.0.0.1
      ansible_port: 2222
      ansible_user: pi

### playbook.yml

- name: My first play
  hosts: golb
  tasks:
    - name: Ping my hosts
      ansible.builtin.ping:

    - name: Print message
      ansible.builtin.debug:
        msg: Hello world
Once I saw that everything worked here, I thought about the scope I wanted for my playbook. Should it set up SMB and HTTP? Should it set up the fstab? I decided on having it set up the SMB server, the HTTP server, and the silly MOTD.
Then, I just started reading the Ansible docs. Over the next several hours, I poured over the examples and wrote little by little until I got the hang of the differences between plays, roles, handlers, tasks, etc.; and once I was done, I had a neatly-organized playbook that could set up everything I wanted in my VM, just like how it was on the actual Pi. You can see the end result here!
My experience in doing that was that I had to spend a couple hours reading the docs and reading the examples, trying to make heads or tails of it, before everything sort of clicked at once? And after it clicked, I was able to write the final playbook in something like 20 minutes. It was kind of weird.
At the end of this all, I had been working on GOLB for about 12 hours (where does the time go?), and it was almost morning. I was exhausted and sleep-deprived, but it was a good experience for me, and I learned a lot of new things! I hadn't really messed around with setting up gadgets like this in a while, and it made a lot of the kind of sysadmin-y stuff my friends do feel a lot more approachable. 10/10 would deprive myself of sleep again :)